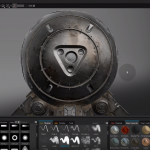
最近流行のマーベラスデザイナーのTipsの動画を見つけましたの今回はそれの紹介です!
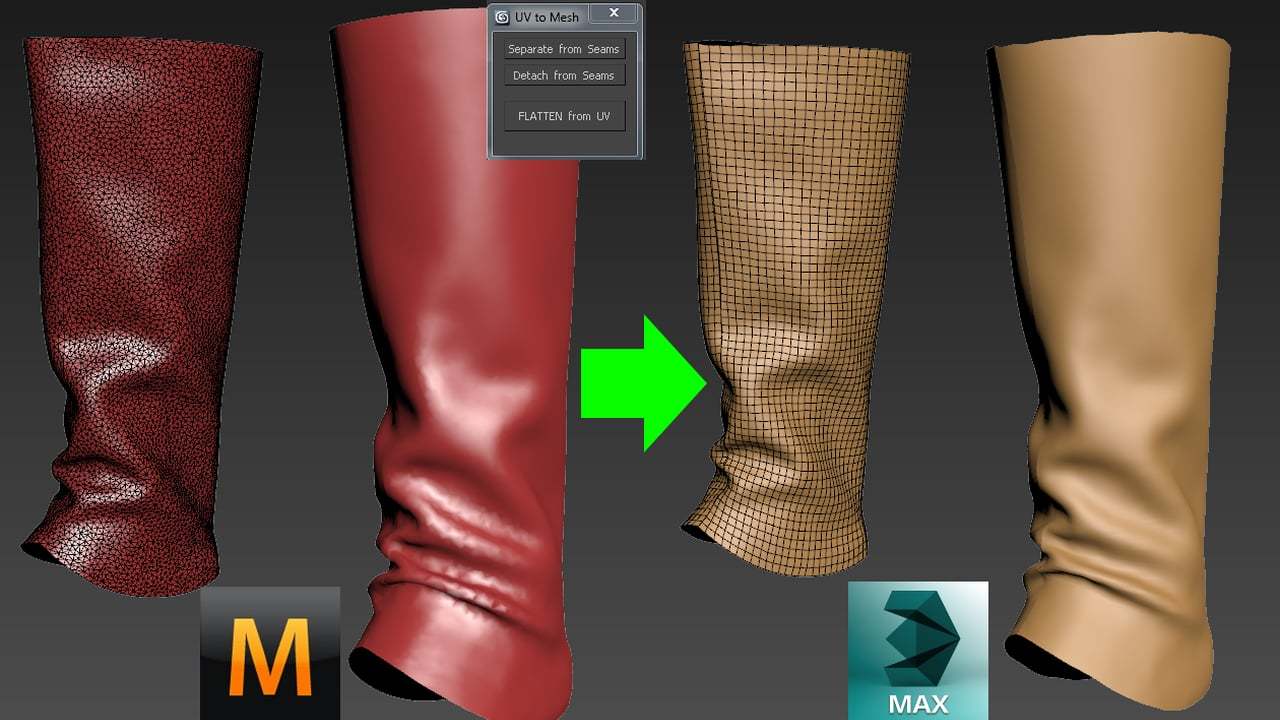
マーベラスデザイナーを使う上で必ずと言っていいほど必要になる、リトポロジーの作業...正直めんどくさいし楽に終わらせたい!
って方はいませんか??そんな方に朗報です!このやり方だとUVは一発で開けるし、開いた状態でリトポするので作業が楽になります!
それではどうぞ!!
いかがでしたか??これに使われているスクリプトのリンクも下記に張っておくのでよかったらどうぞ!!
このスクリプトを使わなくても、「slideknit」というスクリプトでも出来るそうですよ!
ちなみにやり方は違うと思いますがmayaでも出来ますよ!!
英文ですがやり方が書いてありました!翻訳して見てください!
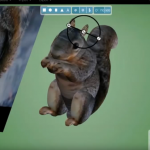
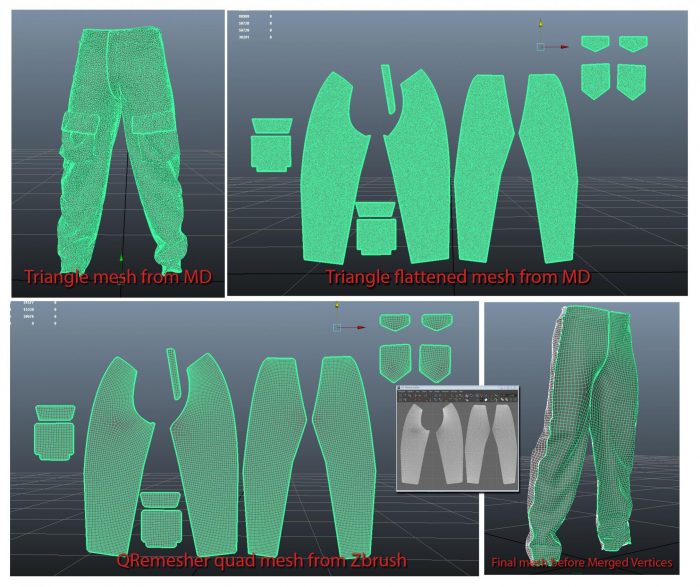
I did a bit of testing and actually found a pretty straight forward way of getting quads and keeping the UVs from Marvelous Designer. You might have to do a few minutes of merging vertices by hand in Maya but in the end it's very fast.
So what you do is you use QRemesher the same way as described by MDB101. But from MD you export the simulated mesh as an obj with UVs and the flattened mesh with UV you get from pressing the Reset to Default Arrangement in MD. So now in Zbrush you use QRemesher on the flattened mesh from MD, which means you now have 3 objs. Open Maya and import all three objs, transfer the UVs from the flattened mesh from MD on the QRemesher obj by using Transfer Attributes. Now you have a flattened QRemesher mesh with the proper UVs from MD. So for the final step, select the proper cloth simulated mesh from MD with UVs and then the QRemesher mesh with UVs, once again use Transfer Attributes using Sample Space: UV and Vertex Position: On. and Boom! There's the quad mesh with the cloth simulated folds and a great UV. The only thing left is merging the UVs from the different parts. Usually you can get the majority of vertices merged by selecting every single vertices, select a good value and press merge. There will be some triangles in the end cause QRemesher will create an uneven set of quads. But we're talking about perhaps just a handful.
I'll try and do some screen grabs to explain it better.
もっと簡単な方法があったような気がするけど思い出せないので思い出せたら追加しときます...
またよろしければ、リツイートなど共有をよろしくお願いします!!
参考リンク